Shooting is an incredibly important aspect of Basketball. There are plenty of fancy ways of scoring points–be it hook shots, layups or dunks. But practicing the basic jump shot should be the first type of shot you focus on. This gives you the ability to score from anywhere on the court and make free throws.
The 7 Keys To A Perfect Shot
The mechanics of the jump shot are simple. They don’t require you pull off anything too technical and anyone, young or old, can practice them.
When learning how to shoot a basketball, your body will have already have a basic idea of how to get the ball into the net. Like throwing a baseball or swinging a tennis racket, it’s a fairly instinctive motion and chances are you’ve seen other’s shoot to give you the basic idea.
So the most important thing to do is to draw your attention to 7 key areas where there is area for confusion. In the beginning you will want to be conscious of these areas as you practice. You’ll eventually commit things to muscle memory, with a technique free from any bad habits.
1. Eyes On Target
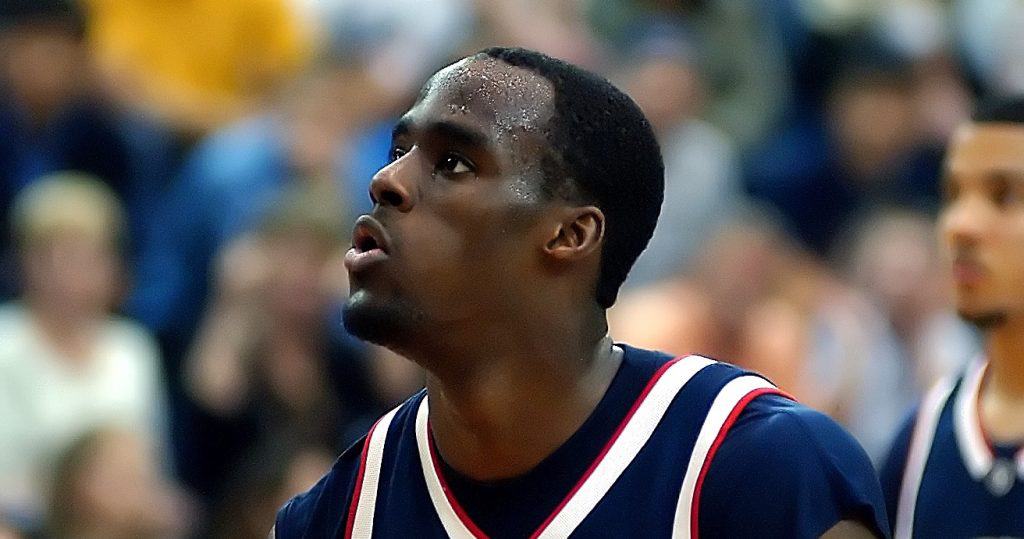
Your aim is to get the ball into the net, so obviously the rim is your target. But the rim is actually quite big, so we want a more precise point.
There are several different targets some of the greatest shooters have used. Whether it be focusing on the front of the rim, the back of the rim, or imagining a spot in the center of the rim. Another target could be the backboard or square for close mid-range jump shots. All are perfectly good targets and neither wrong or right. In fact, a lot of basketball coaches hold different opinions on where you should be aiming.
However, whatever you decide as your target, it’s is important that you are consistent with your target. You simply can’t become a consistent shooter if you are constantly changing your target.
Upon each shot, keep your eyes on the target and don’t follow the flight of the ball. The quicker you locate your target, the better for accuracy.
2. Feet and Balance
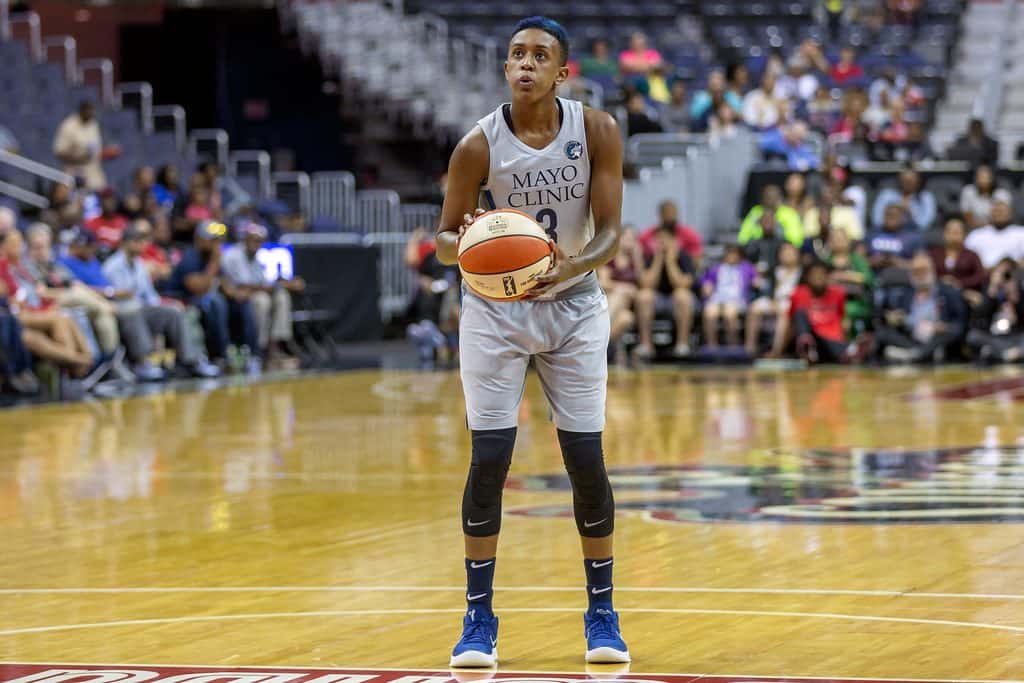
Having a strong and sturdy base helps with shooting. If you don’t, you will struggle to maintain balance through the shot, greatly reducing the shot’s accuracy and consistency.
- Your feet should be about shoulder width apart.
- Feet should be in a comfortable staggered stance. This means your shooting (dominant) foot should be just ahead of the non shooting foot with your hips and knees slightly bent.
- Your feet should be facing the basket, but not perfectly straight on. They should be turned around 10-30° away from the basket, with the direction depending on whether you’re right handed or left handed. If you’re a right handed shooter, then your feet should be pointed to the left and vice versa.
3. Your Shot Pocket
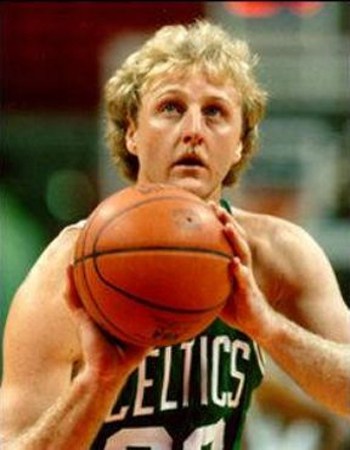
The shot pocket is the position you take when you are about to take a shot. Different players have different shot pockets.
In general, you’ll want to the ball to be somewhere between between your chest and ear. At the same time, line up your eyes and ball up to the basket in a straight line. Make sure you can see your target with both eyes.
There is no ‘perfect’ shot pocket. Different players are comfortable with slightly different positions. However, you do want to make sure you are consistent with your shot pocket, as this will ensure your shot is consistent.
4. Hand Position
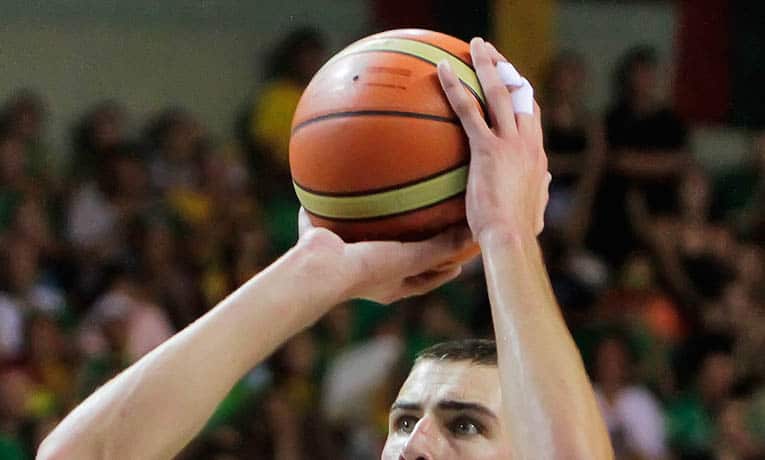
Your shooting hand should be under the basketball and bent at the wrist. Keep your shooting hand relaxed, forming a cup, and allow the basketball to come off the pads of your fingers, not from the palms of your hand.
You want the wrist to be bent because as you make the shot and follow through with it you will be snapping your wrist to create power and backspin. Backspin is desirable because it gives you a soft shot, meaning the ball has a better chance of going in should it impact the rim.
Keep your non-shooting hand besides the ball, gently ensuring the ball doesn’t roll off during your shooting motion. The non-shooting hand is often called the ‘balance hand’ or ‘guide hand’ for this reason.
5. Gripping The Ball
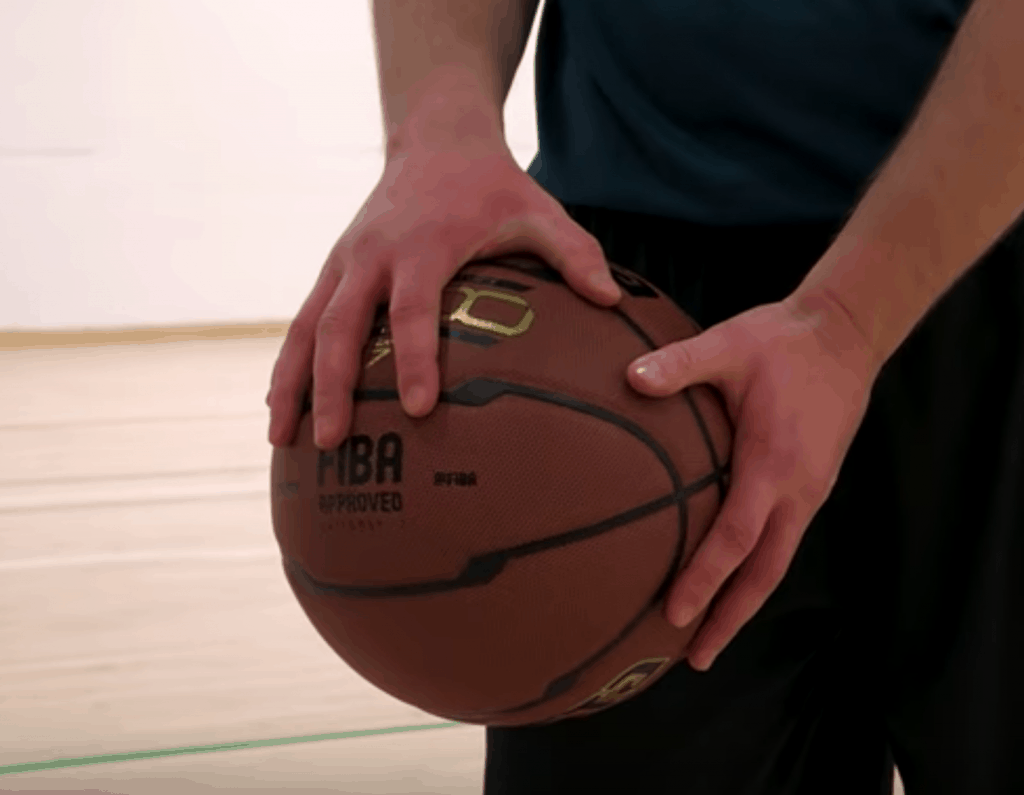
Don’t keep your fingers closed closed, instead spread them wide on the basketball. Having a wider spread ensures the ball is better balanced as you make the shot.
The only part of your palm that should touch the ball is the upper top half. When doing this correctly, you will have a space between the ball and your palm, large enough to allow a pen to slip through. Fingers should control the ball exclusively and never your palms.
While practicing, it can help to keep your fingertips running parallel to the seams of the basketball. This allows you to see the spin of the ball and determine whether you are producing sufficient backspin.
6. Release and Delivery
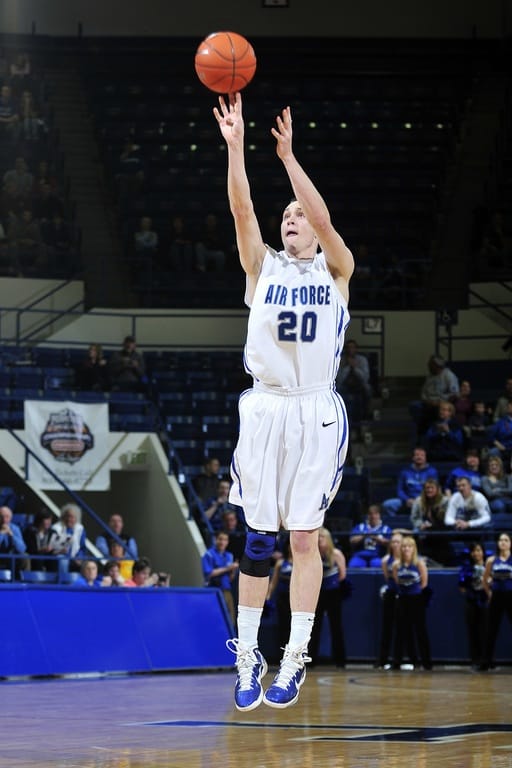
Release the ball from your shot pocket in an upward arc.
Before the shot, the ball should rest in your shot pocket as if you are holding a box of pizza. Keep your elbow aligned directly under the ball. Tuck it in close to your chest and don’t have it flared out to the side.
As you begin the release, straighten out your elbow in a straight line to the rim.
The non-shooting hand should stay to the side of the ball throughout the motion, and released towards the peak of the shot.
Towards the end of the motion, snap your shooting hand’s wrist for extra power and to generate backspin.
During the extension of your elbow, you will simultaneously be pushing upwards from your legs, straightening out and extending at the knees. Only release the ball on the way up of your jump.
7. The Follow Through
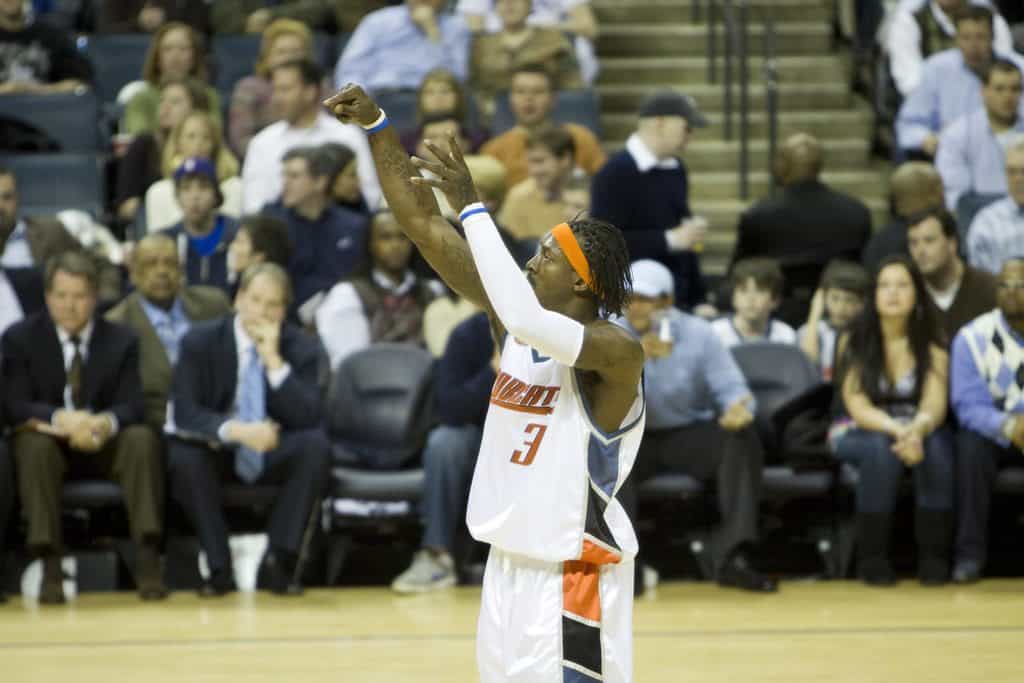
The final step after shooting the basketball is the follow through. The greatest shooters typically have a beautiful follow through after the ball has been released. Your head and arm should be held up in a complete follow through form until the ball hits the rim. It is good to practice have a long follow through after shots as it enforces the necessary shooting mechanics.
Remember The BEEF Method
The 7 key points above might be a little difficult to remember in training. Coaches often teach players the B.E.E.F. acronym to make sure they can easily remember the most important aspects of shooting a basketball.
B for Balance: Make sure your feet are correctly positioned and maintain balance as you take the shot.
E for Eyes: Make sure you keep your eyes on your target. Don’t follow the ball or look at other things around you.
E for Elbows: Your elbow on your shooting hand should be directly under the ball with your wrist bent back, as if holding a pizza box. It should be tucked in and not flared out.
F for Follow Through: During the release, you should flick at the wrist and follow through your shot to create more power and create backspin.
Practice, Practice, Practice
Once you have understood the key points for the jump shot, you will want to practice the shot as much as you can. It might feel awkward at first, especially if you’ve been doing things differently. However, after a few hundred shots you everything will begin to feel much more natural.
Continued practice is the only way to build muscle memory. To truly improve yourself as a shooter you must be willing to take anywhere from 200-500 shots a day, and aim to increase the number of made shots.
Goal setting and setting challenges for yourself can go a long way as well. A player could easily find a fellow teammate or someone to rebound for you to chart makes and misses. Shooting machines, whether they be Dr. Dish or “The Gun” can be helpful in improving your arch on your shot as well as charting your makes/misses.
Practice on a regular basis will not only improve your shooting but keep your shooting technique sharp.
Form Shooting Drills
Form shooting drills are essential to build perfect shooting form and develop a shooter’s confidence.
After a brief stretch and warm up, all players should perform form shooting before every workout, practice and/or game. I ask all of my players to shoot at minimum 25 shots from about four or five feet from the basket. After completion shooters may move back a few feet after the minimum shots are attempted.
While performing these shots, the sole purpose is to work on and improve shooting form. This may seem redundant and easy to achieve but it’s a very effective method of training a player’s shot.
Common Shooting Mistakes
1. Twisting the body or hurling the ball
If you lack strength or aren’t generating power from your lower body, it’s common to compromise your shooting form in order to get the ball to reach the rim. This kind of shooting is not only inaccurate, but reinforces bad shooting habits.
Practice at closer ranges so lack of power is not causing you to shoot with bad form. Then work on gradually moving away from the basket and jumping higher during the shot in order to make these longer shots.
2. Flicking with the thumb on your guide hand
The guide hand is strictly for keeping the ball balanced as you push up with your shooting arm. Tempting as it may be, do not use your thumb on your guide hand to give the ball an additional push, as it will alter the projectile of your shot.
3. Shooting after the peak of your shot
The reason you need to shoot while your whole body is on the way up is to harness all that power your lower body generates and put it into your shot. If you release while your body is coming down, you are effectively defeating the purpose of the jump in your shot.
4. Snapping the wrist with too much force
At the release, where you snap the shot, you want the snap of the wrist to be a light movement. If you snap your wrist with a lot of force, the ball will stick to your fingertips for a long time and be released late, resulting in a flat shot (a shot that lacks arc) which has a much lower chance of going in the net.
5. Poor extension of shooting arm
During the release, you should fully straighten out your arm. Some players don’t fully extend their arm, reducing the amount of power going into their shot.

Really informative article! These are some great tips. It’s also important to train yourself to locate the rim quickly before a shot. Doing so helps prepare your entire body for taking the shot. Shoulders get squared effectively and you take a good shot.